How to Remodel Your Kitchen

Follow these 9 steps to a successful kitchen remodel, from figuring out what you need to signing off on the final review

You’ve decided to remodel your kitchen. Now what? Not knowing where to start, many homeowners start by looking at kitchen appliances. Others collect inspiring kitchen photos. Some homeowners decide they need more room. Others simply want to upgrade their current kitchen. Homeowners may find themselves in this exploration stage for a year or longer before they start interviewing kitchen designers or general contractors.

Once you’ve pondered long enough and you’re ready to green-light a kitchen remodeling project, then what? We’ll start with the first nine steps in this article and then get into the nitty-gritty details in other kitchen workbook stories.

You’ve decided to remodel your kitchen. Now what? Not knowing where to start, many homeowners start by looking at kitchen appliances. Others collect inspiring kitchen photos. Some homeowners decide they need more room. Others simply want to upgrade their current kitchen. Homeowners may find themselves in this exploration stage for a year or longer before they start interviewing kitchen designers or general contractors.

Once you’ve pondered long enough and you’re ready to green-light a kitchen remodeling project, then what? We’ll start with the first nine steps in this article and then get into the nitty-gritty details in other kitchen workbook stories.

1. Think About What You Need in Your Kitchen Remodel

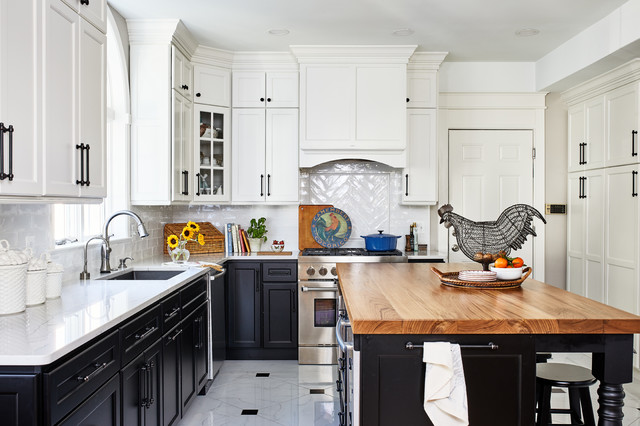
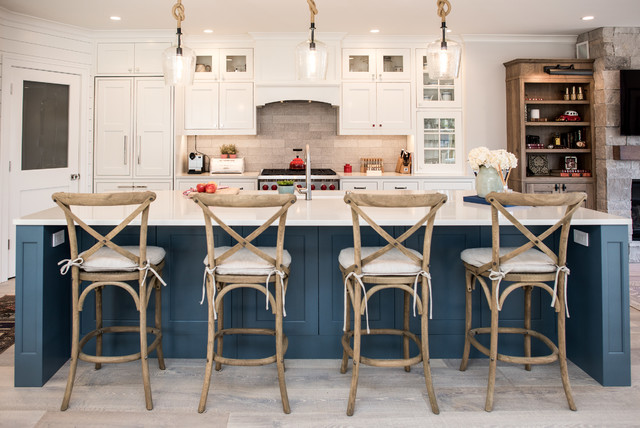
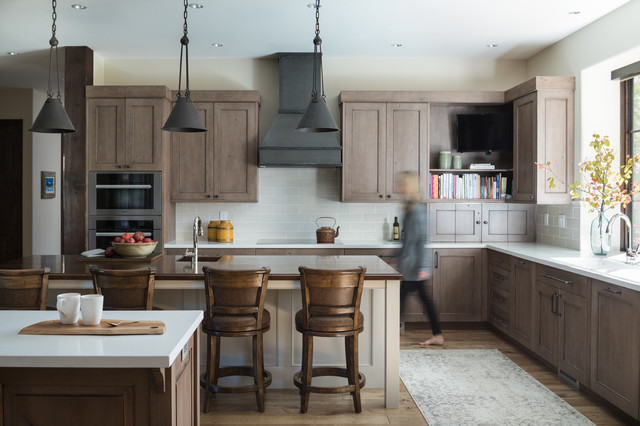
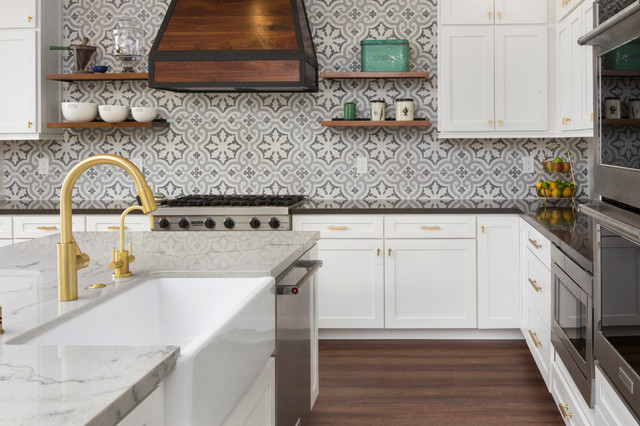
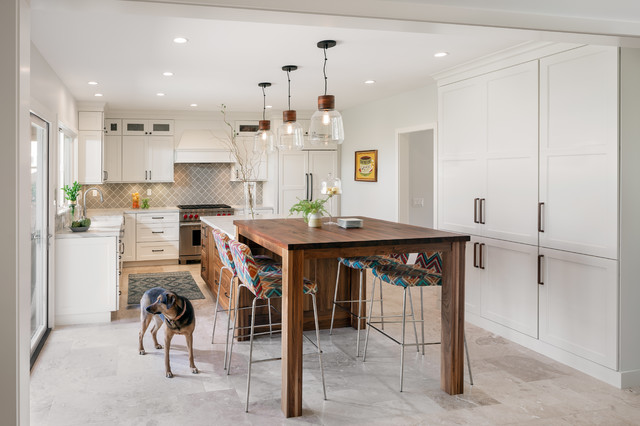
This step is all about figuring out how you use your kitchen, and finding the layout and features that fit your household’s lifestyle. Get ideas from Houzz kitchen guides, photos and discussions.

Think about your priorities and ask yourself some questions. How many people will be cooking and gathering here? How will they need to move around? Do you need an addition, or can you work with your existing kitchen footprint?

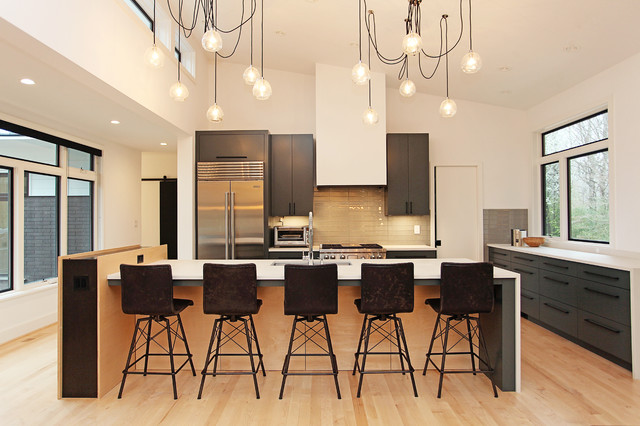
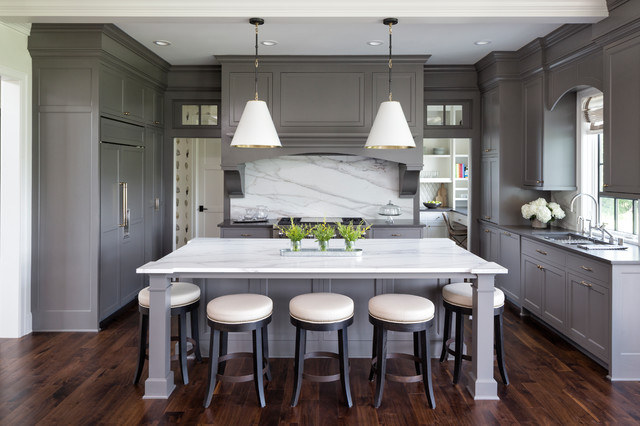
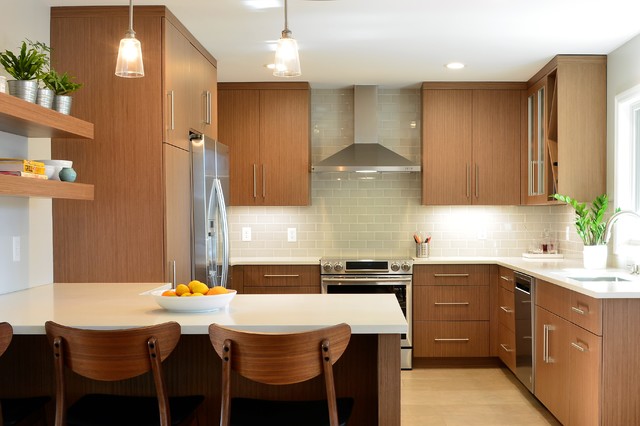
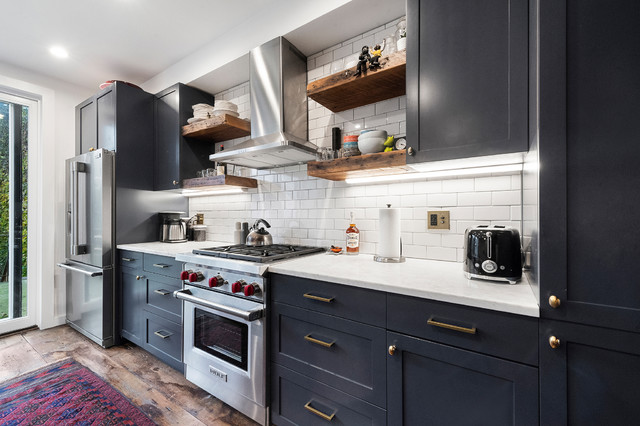
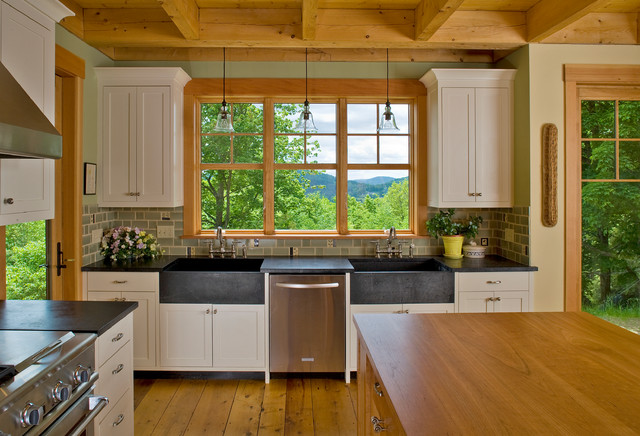
If you haven’t done so already, start saving photos of kitchens with features that suit your style. Your collection can be organized and beautiful like a scrapbook might be, or it can be filled with unorganized images. I like to randomly stuff images into my folders and ideabooks and go back to them later for edits.

How to Find Your Kitchen Style

Browse kitchen photos and save your favorites

2. Research and Plan

Ready to green-light that project and take the plunge? The best place to start is by formulating what’s commonly referred to as the scope of work and figuring out your preliminary budget.

Both of these may be subject to change, so don’t feel as though you have only one chance at this. Budget and scope are intertwined and often change many times during the kitchen design process as you become more educated and able to reconcile what you want and what you can afford. As a homeowner, you’re not expected to walk into this knowing what everything should cost. Remember, this is an educational process.

How to Map Out Your Kitchen Remodel’s Scope of Work

Shannon White Design

3. Find the Professionals You Will Need

Unless you’re building your own kitchen cabinets and doing your own electrical and plumbing, you’re going to work with a professional at some point.

The Houzz pro directory offers a list of design, remodeling and service professionals throughout the U.S. and internationally. You can search by your ZIP code and the category of professional you seek. Click on pros’ profiles to learn more about them, see photos of projects they’ve completed and read reviews of their work by other homeowners.

Some homeowners start a kitchen remodel by hiring an architect or interior designer. Some go with a kitchen designer. Still others might work on their own with a builder or contractor. Pros are available to help you with everything from contracts and permits to space planning, budgets, choosing finishes and fixtures, shopping, ordering products and managing your project from start to finish.

Which Home Professional Should You Hire for Your Project?

In Site Designs

4. Settle on a Schematic Design

This phase includes sketches, space planning, preliminary floor plans and elevations showing the layout and cabinet sizes. I try to keep my clients focused more on layout and space planning, even though the temptation is to talk about what the kitchen will look like. But I find that getting caught up in the look too early can distract from the space planning phase.

Plus, you need a plan to figure out what materials will go where, and how many square feet you will need, and ultimately how much this will cost. I like to begin the contractor interview process early and give them a preliminary drawing packet and scope of work so we can get some ballpark construction numbers. At the same time you can be sending out drawings for estimates on some top choices of kitchen finishes and fixtures.

Plan Your Kitchen Space Like a Pro

5. Specify Fixtures and Finishes

Throughout this process, and probably long before, you have been saving photos of kitchens you love into your ideabooks and folders. You’ve found your kitchen style, whether it’s modern, classic, traditional, cottage or a personal style in between. You probably know if you want a white kitchen, a natural wood kitchen or some color.

Now you need to make your final selection of finishes and fixtures. This may include:

6. Work on Design Development and Construction Documents

This is the stage where you finalize the design and prepare final floor plans, elevations, details and, if applicable, mechanical and electrical drawings, lighting switch plans, and exterior elevations.

This is where your final permit set or construction drawings come into play. It’s important to have finishes and fixtures selected at this time, since this is what will be considered in the final pricing from the contractor.

You’ll submit drawings for permits. These have a lead time, so check the timing with your local village. You’ll need an architect, designer or licensed contractor signed up to finalize the paperwork and pick up your permits, so get ready to hire someone in the next step. I often find that we’re submitting for permits around the same time or a little bit after we’ve placed the cabinet order, due to similar lead times.

When to Pick Kitchen Fixtures and Finishes

7. Get Contractor Estimates

If you don’t already have a licensed contractor on your project, your next step is to find one to carry the project through. I always recommend to my clients to get at least three contractor estimates. I like to do preliminary walk-throughs with the contractors once the schematic designs are done so we can get some ballpark estimates and find out if we’re on the right track or need to pull back some to fit the budget.

What to Look for in a Contractor’s Contract

8. Prepare for Demo

The big day is upon us, most likely about four to eight weeks from when you submitted for permits. Now it’s time to get that schedule firmed up and plan on cleaning out the cabinets, putting what you don’t need in storage and — if you’re living in the house during construction — setting up a temporary kitchen.

You may be moving out of your house temporarily, but most homeowners white-knuckle it and try to live in the house through construction. Preparation and organization can save your sanity.

Discuss the logistics ahead of time with your contractor. Will you meet once a week for updates? Will you have to be out of the house for certain tasks like demo or flooring? What about debris removal and dust? Are there any family allergy issues? What is a typical work day for the crew? Getting all this on the table beforehand can set expectations and make for a smoother ride.

4 Ways to Get Ready for Kitchen Construction

9. Get Through the Punch List

Once construction is over — well, almost over — there’s typically a list of items that are missing, wrong or simply forgotten about. This punch list, as it is called, could include small things like a missing light switch plate, a caulk line that shrank and pulled away from the wall or paint touch-ups. Sometimes it can be bigger things, such as a faulty range hood, or a big scratch in the newly refinished floor.

Sometimes the homeowner does the punch list. It can be as informal as an emailed list of items that need to be fixed or finished. I like to use a little form I put together that identifies the item to be fixed or finished, the responsible party and the date of completion. I send it to the client for review, changes and additions, and then forward it to the contractor.

It’s inevitable that the contractor may have to make multiple visits back to the house to finish these items. Prepare yourself for more than one visit and you’ll be fine. The best way to approach this is with a Zen attitude. Things happen, and little things get missed. It’s sort of like making a list for the grocery store and still forgetting some key ingredient. We all do it.

Talk to us